Page 1 of 2
Reub'z ET
Posted: Mon Sep 03, 2012 10:08 am
by rubixcube101
Hey guys,
Name: Pulsar ET
Location: WA
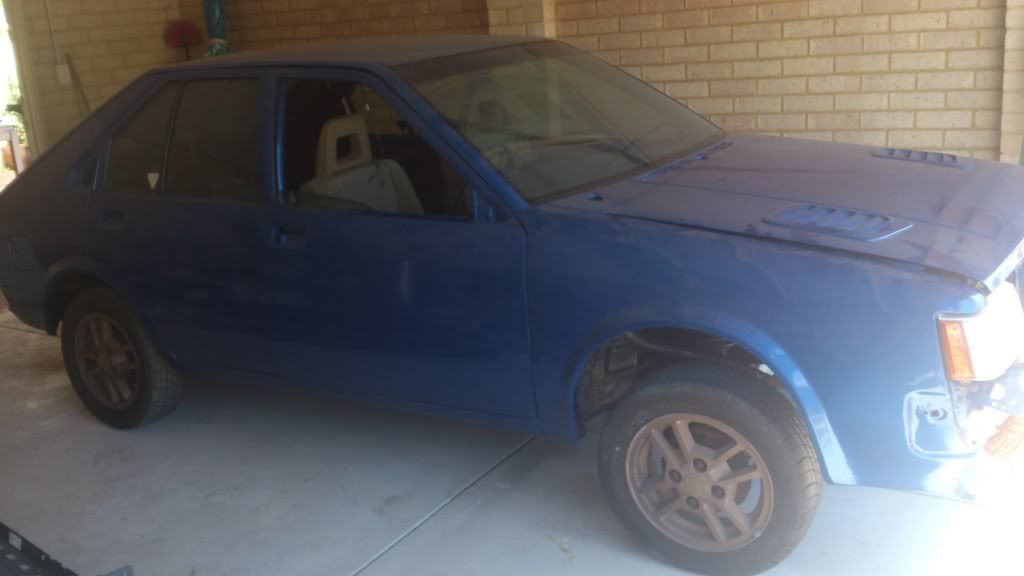
Year/ Model: 85'
Colour: Blue (previously red)
Period of ownership: Nov 2012 - Present
Performance: Unsure yet but should be good.
Engine Mods:
- Blueprinted engine
- EGI Manifold with dual tb
- t25g
- Liberty RS WAIC
- solid engine mount
- Gearbox N13 internals.
- 3 inch xorst
Interior Mods:
- Blue and white retrim
- Sound deadening
Exterior Mods:
- SS brake hoses
- Calipers rebuilt
- sprayed with sound deadening
- Painted WRX Blue, fullbody respray
- Wheel well was removed for gas tank, however plan was abandoned after parts were stolen. Nissan factory rims.
Future Plans:
- Make it run.
- Find side skirts and rear to factory et bodykit
- Aftermarket ECU
- Upgrade injectors
- Run
October 2012:
This is my first post on this forum and also my first project car. My Uncle has had this baby sitting in his garage for a while (so u may have seen different pics of the same car before), and wants to get rid of it now so offered to take it of his hands and should have it in the next 3-4 weeks hopefully

Not sure exactly what mod's its currently got but i can find out in time.
Phase 1 i think is cleaning out the garage and setting everything up nicely before i get it in!
I think this community is pretty cool and friendly so hopefully you guys can help me along the way and i can keep you updated
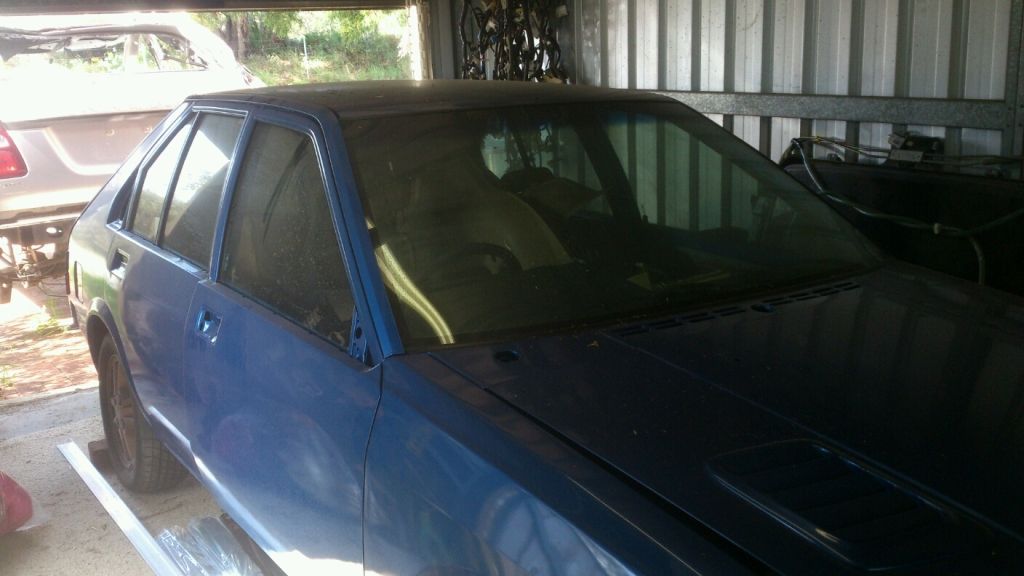
So here's a couple of pics for now
Pics:
Sorry their not very good there wasnt all that much space to stand


Posted: Sat Oct 20, 2012 4:05 pm
by rubixcube101
ITS HERE!!
Posted: Sun Oct 28, 2012 1:56 pm
by rubixcube101
11/11/12 Update
Posted: Sun Nov 11, 2012 6:02 pm
by rubixcube101
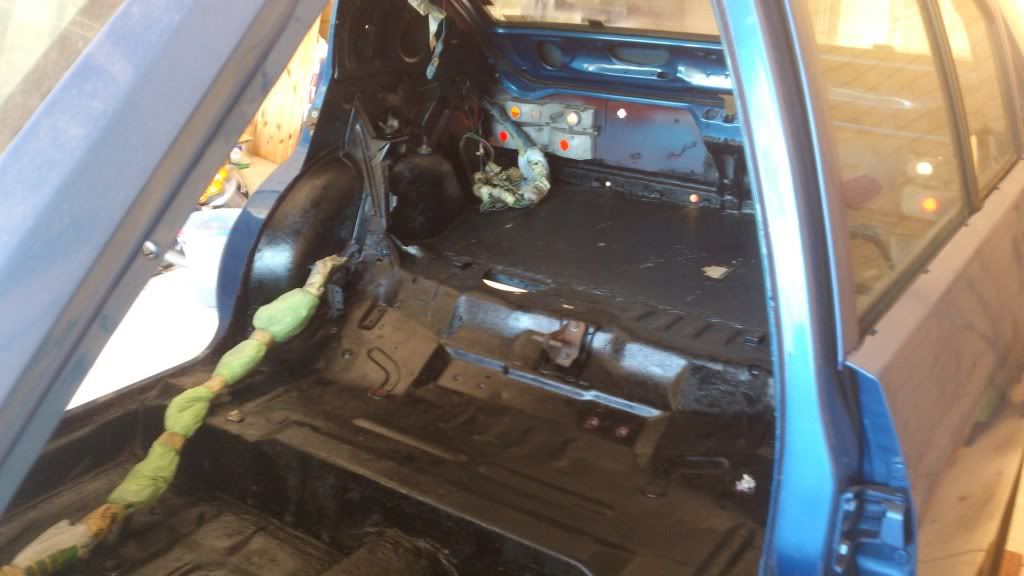
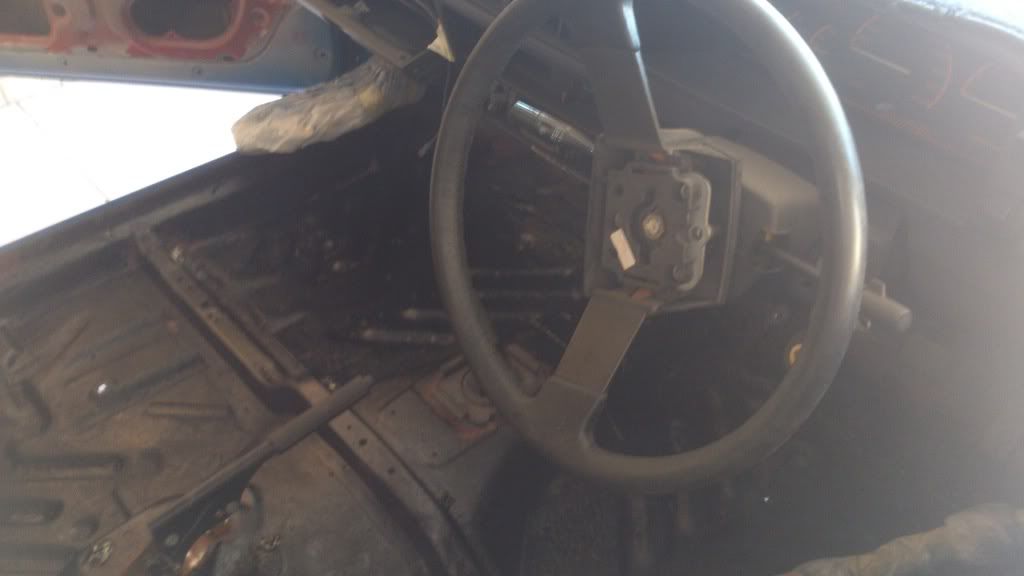
Just an update on where i'm at, still quite a bit to go before its all ready to go!
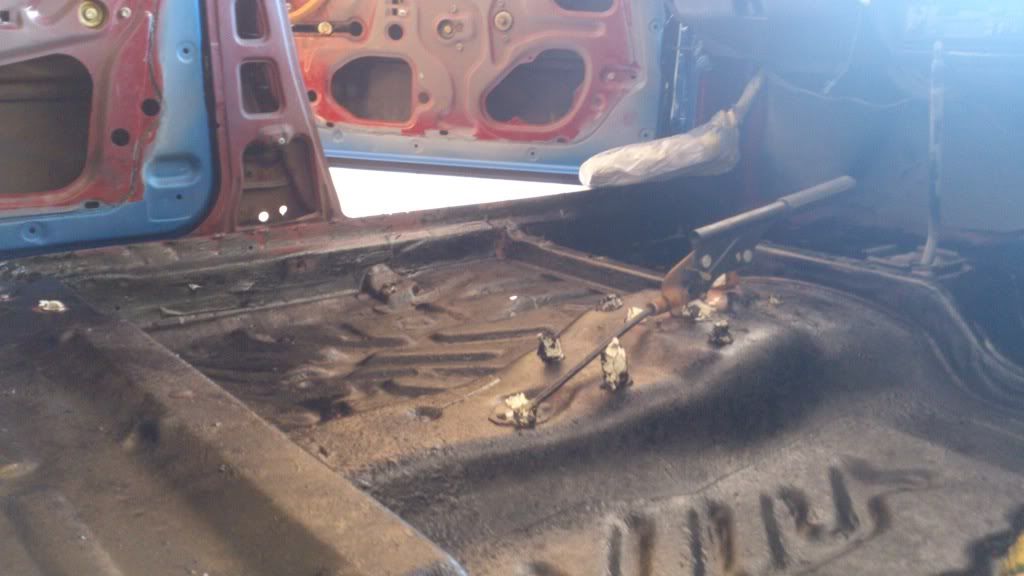
Finished sound deadening the floor, not sure im going to do the doors and pillars. Next is stripping the donor for fuel lines. need to install brake and fuel lines however, some of the brake lines were cut so i need to get new ones made up. Ordered a kit to rebuild font calipers from repco however i still need some for the rears (anyone know where i can find it???). Then after that i should be ready to put the engine in!
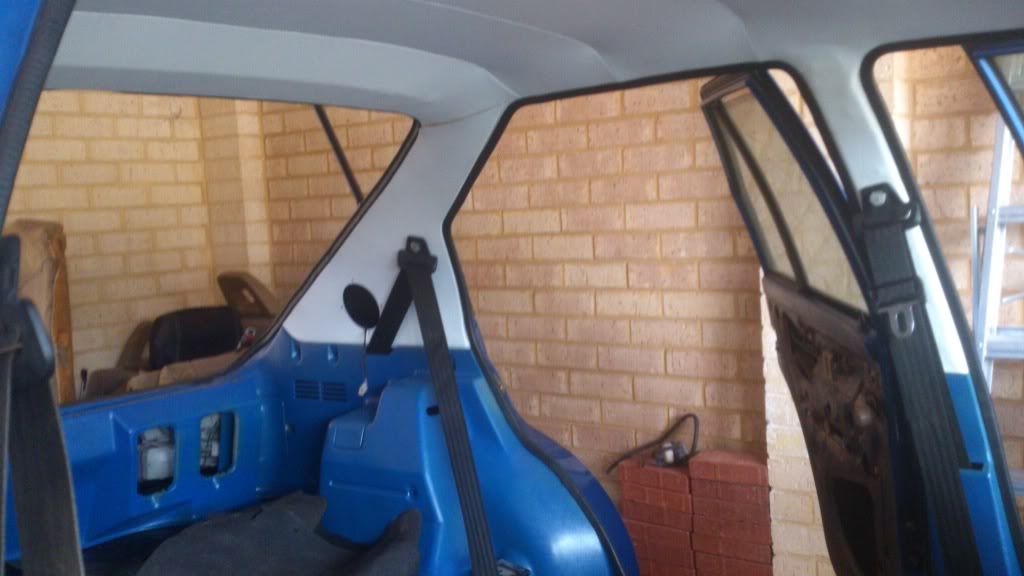
In terms of interior still deciding on a colour scheme, probably going to go with white and grey/black. Played around with some photoshop and borrowed someone elses images (Thankyou previous ET members), first attempt at using the software but turned out half decent. Please let me know what you like best!
Also previous owner removed the rear sump that houses the tire, jack, ect. so that an lpg gas tank could be fitted. so ill have to build a false floor to chuck a space saver spare in there.
Thats all for now, behold some pictures.
Cheers guys, Reuben.
Update 19/02/13
Posted: Tue Feb 19, 2013 10:28 am
by rubixcube101
Going to install clutch and transmission to engine block today, currently hoisted at the moment. Then its just little bits to do here and there before the car is ready to go and get rego'd!
Posted: Tue Feb 19, 2013 9:15 pm
by baz
Now that it's been stripped this far, don't do take any short cuts putting it back together, Take your time piecing it back together & you'll appreciate it when it's done
Update 3/14/2013
Posted: Thu Mar 14, 2013 9:27 pm
by rubixcube101
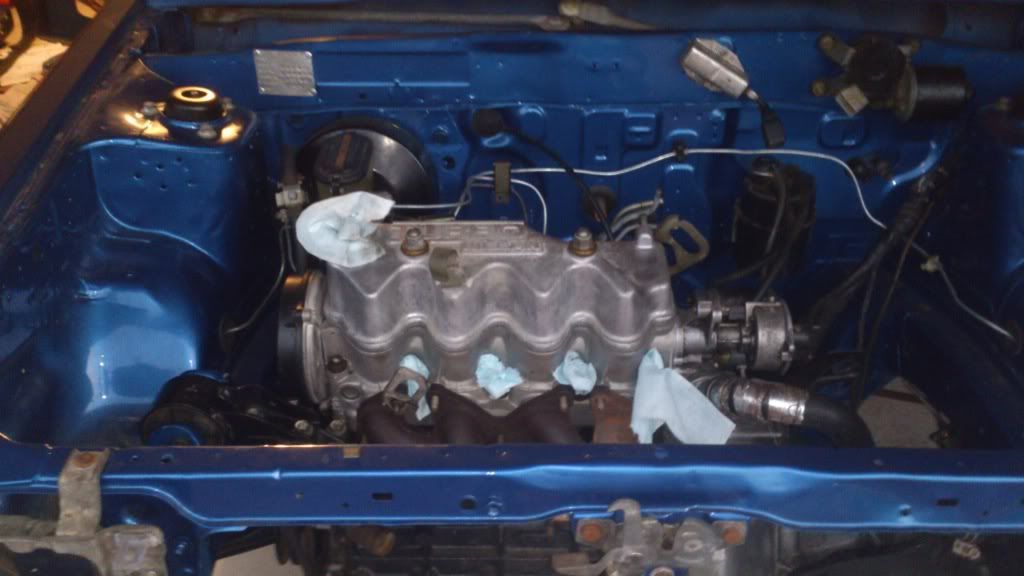
Engine is in and am in the process of hooking it all up. Need to sort out water lines for the turbo and hook the rest up along with the oil lines. Not to sure about all the vacuum lines but im getting there. Then to tidy loom, install the RS WAIC intercooler along with piping, relocate the battery to the boot and it should be good to go!
Had a bit of a nightmare with the driveshafts. The shafts were taken out of the cage with the roller bearings by the previous owner and just found that 3 of the ball bearings were missing. Went around and almost had a heart attack because everyone said it was an odd size 21/32"! Thankfully some site on ebay has got them!
Interiors are coming together as well. Headliner is up and installing bits of trim here and there... some are still to be painted. Will be uploading a tutorial on how to put the headliner for anyone that would like to redo theirs.
Cheers,
Reuben.
Update 11/08/13
Posted: Sun Aug 11, 2013 8:33 pm
by rubixcube101
Had a small break and got more done on this car.
Battery is now in the boot, most interiors are in, T25G installed with water lines, intercooler is mounted with brackets. Was having a bit of trouble sticking in the radiator but got there eventually. The clearance is minimal though, just a couple of mm. Scratched a bit of paint on the way though, o well live and learn i guess

Currently in the process of sorting out intercooler piping and mounting my air condenser - washer bottle and radiator overflow have to be relocated as a result. Also need to take it to the zorst shop to get a dump made up and flex hose replaced.
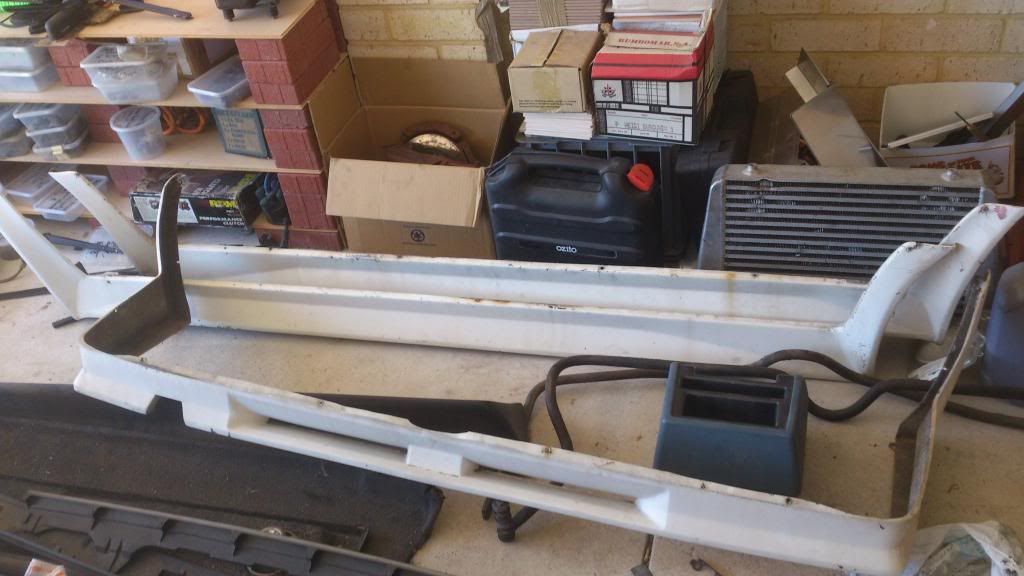
OOo and currently prepping these which i found!
May have to cut the rear skirt a bit to make room for the cannon on the back.
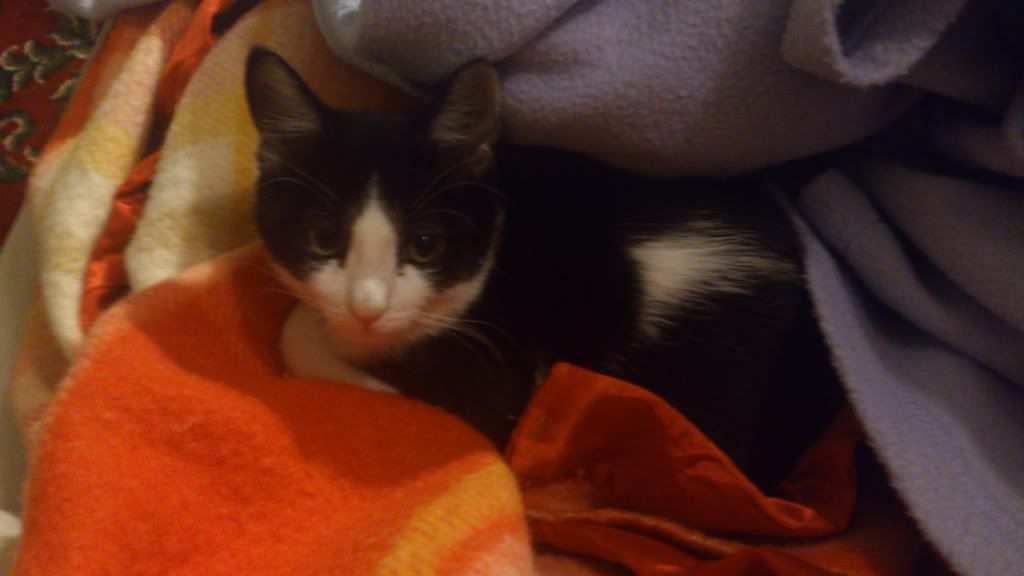
Watch out for this sneaky one, im not really a cat fan but its my gf's new house mate...
Posted: Mon Aug 12, 2013 9:06 am
by etking
how are you going to do the piping with the intake facing the opposite side of the intercooler? would've been better of with the Japspec manifold that faces the other way? or putting the cooler on the other side?
Posted: Sun Aug 18, 2013 4:07 pm
by rubixcube101
etking wrote:how are you going to do the piping with the intake facing the opposite side of the intercooler? would've been better of with the Japspec manifold that faces the other way? or putting the cooler on the other side?
That was a dilema before, and I did want to put the IC on the left hand side, the only problem was the space heightwise as i was not able to close the bonnet, and then the room for the pipe going to the TB was a bit crammed. Japspec manifold would've been perfect but hey... my uncle had the egi manifold lying around so why not use it

Bigger plenum, hard to get your hands on, and looks nice and stockish for when i take it over the pits
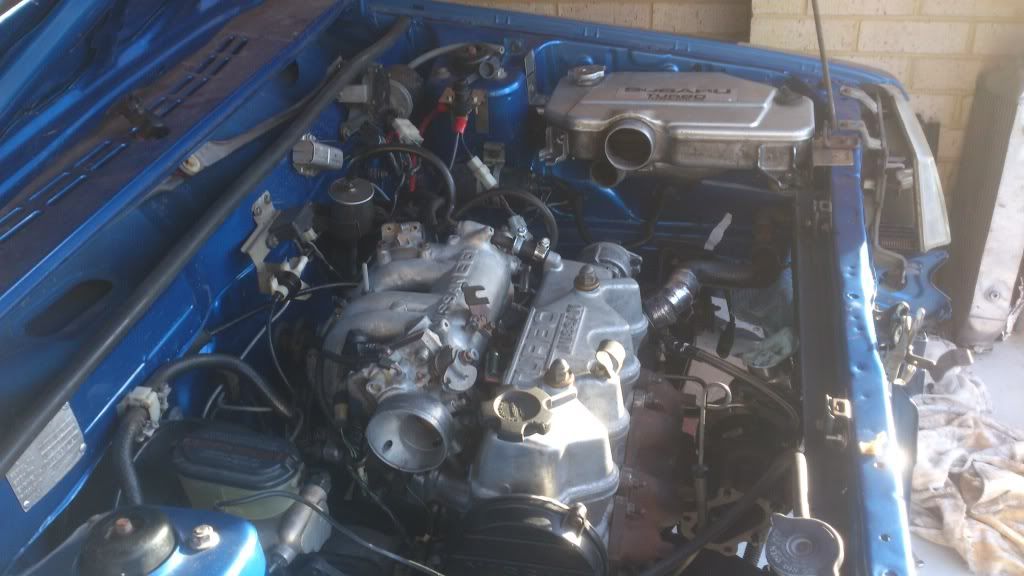
This is the plan for the IC piping. And ive played around using spare pipes from the donor car and there seems to be enough space doing it this way. The outlet is high enough that the pipe can come out over the distributor and hopefully give enough room for the 2" pipe going to the inlet underneath. The tricky bit i think is the afm and pod going to the compressor inlet from which ive planned, has enough space. It goes back over the exhaust manifold but hopefully that won't do much with a bit of heat wrap. Just trying to get my hands on a nice size condenser now because the previous one i planned for is a tiny bit tall.

Posted: Sun Aug 18, 2013 5:58 pm
by SimoN10
Wouldn't the air just heat back up as it goes past the exhaust?
Posted: Sun Aug 18, 2013 6:38 pm
by rubixcube101
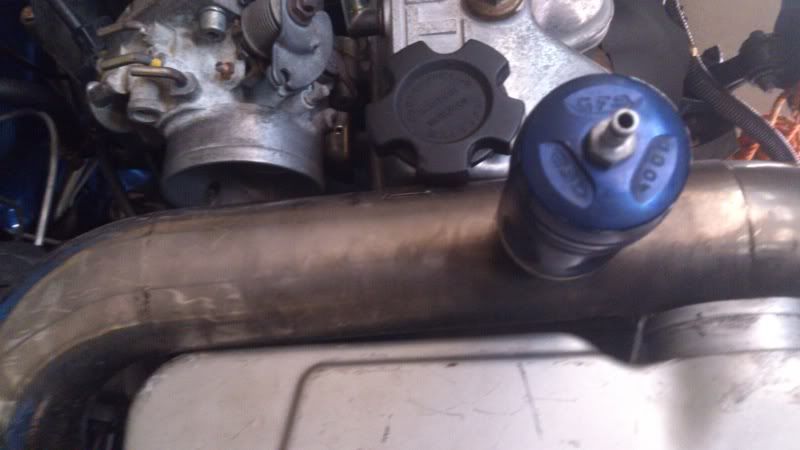
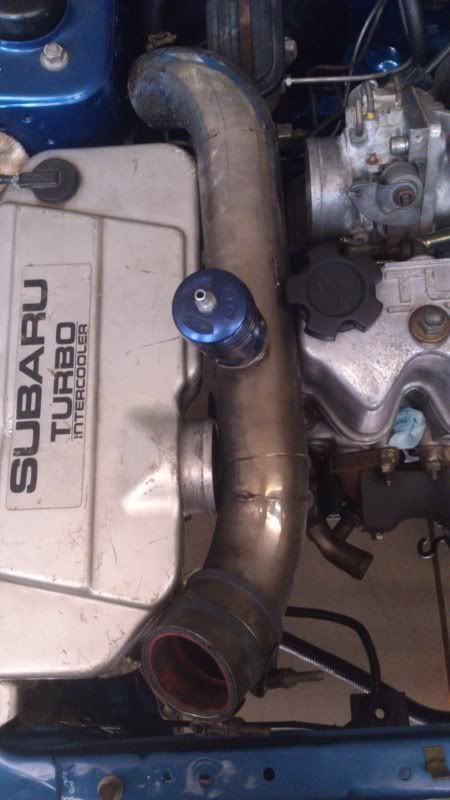
Don't think it will heat up too much. Here's some pics with it on the otherside with a 2.5 inch pipe to demonstrate the space. If i used the underside pipe as the outlet to the TB it would take some serious welding mods i can't do myself, so the larger one has to be the outlet. The only place to mount the BOV would have to be before the intercooler and even then not entirely sure where it would fit. The IC fill point has to be ground off as well in order to fit vertical clearance and then sealed, which would mean a new fill point as well. It would make things much tidier if i could make it work...
Posted: Mon Aug 19, 2013 9:33 am
by etking
jap spec manifold facing the otherside (where you have it at the moment with more room) would solve a lot of problems! (easier piping, not going over exhaust, etc). Plus it is a stock manifold so suits the "stock" look you are going for. Just my 2 cents, it's your project!
Posted: Tue Aug 20, 2013 4:57 am
by photoglossy
Jap spec or front mount IMO, but its your car so do what you like. Its all about doing and learning!
Posted: Tue Aug 20, 2013 6:59 am
by BennyET