N12Turbo.com lanyards are now available! Click here to visit the shop

N12sumfin's Exa 001 (56k heavy)

The place to introduce yourself, post photos and specs of your car.
User avatar
n12sumfin
Posts: 354
Joined: Sun Aug 30, 2009 6:29 pm
Location: NeWy

N12sumfin's Exa 001 (56k heavy)

Post by n12sumfin »

okay i have been meaning to get the car pics up and everything for ages but i wanted to wait until the car is running, well i have tracked it down to why it hasn't wanted to start. BIG THANKS TO E! hopefully a new CAS will fix the problem of not cranking.


Problems so far:

dead fuel pump, cas x2, starter, coil, transistor, ecu, no key for ignition barrel, needed new lock on fuel door, needed engine.

so swapped engines and changed from low mount to high, got rid of a few water pipes.

parts bought and found

16" wheels
spares, speedo cable new wheels and other things :) thanks john
microtech and loom
new plugs and coil
new sensors and connectors
vl throttle body
2 1/2 inch exhaust
new exhaust gaskets
japspec inlet manifold
brand new wiring loom
racing seats
walbro 255lph fuel pump
super happy fun white hatch club stickers (had these 6 years, finally on a white car lol.)

things to come

rego
new plates which i already have EXA 001
16" wheels on
drilled and slotted rotors
t25g
inter-cooler
440cc injectors
turbo tech boost controller
tune
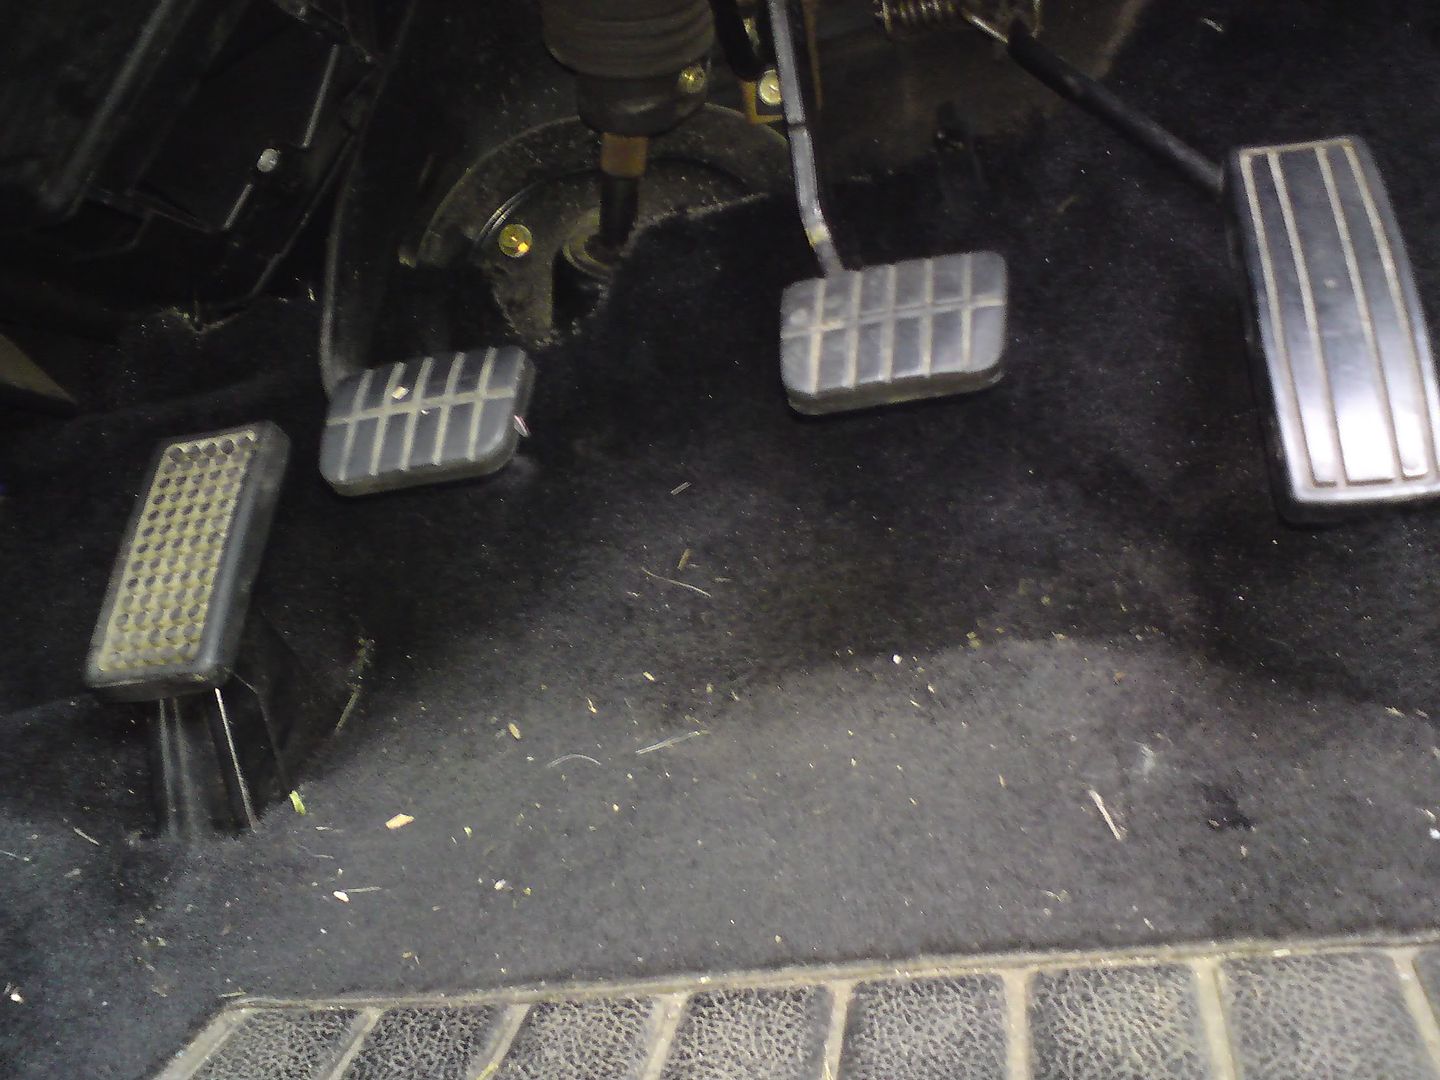
finish the rest of the black interior off
push button starter
darker legal tint


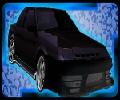
so here are the pics
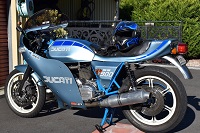
before i got it

Image

Image

Image

Image

Engine swap for dummies, lol. remember to balance your load.

Image


Image

Suprises, not the first one :( GRR

Image

After engine swap

Image

Image

Image

Donor vehicles

Image

Image

Image

Image
User avatar
n12sumfin
Posts: 354
Joined: Sun Aug 30, 2009 6:29 pm
Location: NeWy

kk

Post by n12sumfin »

found out why both my CAS's were stuffed pulled both apart one has completely corroded and the shaft is buggered, with crap through it everywhere and doesn't spin, the other was contaminated with oil and literally poured out when i removed the cap :( don't know exactly how to dismantle it i got most of it off the shaft except the flat disc off the bottom

Image

Image
leayr
Posts: 250
Joined: Mon Jun 11, 2007 5:07 pm
Location: NSW

Post by leayr »

u got that one was from berro??and is the blue one from mayfield cheers
User avatar
n12sumfin
Posts: 354
Joined: Sun Aug 30, 2009 6:29 pm
Location: NeWy

kk

Post by n12sumfin »

yeah, i bought the blue with intention to fix but massive rust and cut wiring loom, i scrapped it and kept all the running gear.
leayr
Posts: 250
Joined: Mon Jun 11, 2007 5:07 pm
Location: NSW

Post by leayr »

yeah i was gunna buy that one was stolen or something the guys father wanted to much lol
leayr
Posts: 250
Joined: Mon Jun 11, 2007 5:07 pm
Location: NSW

Post by leayr »

u got any other turbo shells u want to sell ive been lokking since i sold my last one nothing around i use to buy 3 or 4 a month
User avatar
n12sumfin
Posts: 354
Joined: Sun Aug 30, 2009 6:29 pm
Location: NeWy

kk

Post by n12sumfin »

nah this is going to be my last one, and i ended up buying it for $200 ;) i haven't seen any even driving in Newcastle for a long time now :(
leayr
Posts: 250
Joined: Mon Jun 11, 2007 5:07 pm
Location: NSW

Post by leayr »

yeah been awhile since i seen any its a shame there a good car good luck
User avatar
n12sumfin
Posts: 354
Joined: Sun Aug 30, 2009 6:29 pm
Location: NeWy

kk

Post by n12sumfin »

replaced the Cas in the dizzy and bingo she fired straight away :) Idles perfect and is loud as F***K :) timing is a little funny though as i checked it with a timing light and it flickers in 2 places i guess thats because its running wasted spark, lol.

A big Thank you goes out to E, i owe you a beer or a case, lol.
User avatar
tassuperkart
Administrator
Administrator
Posts: 5578
Joined: Wed Jul 05, 2006 8:39 pm
Location: Southern Tasmania
Contact:

Post by tassuperkart »

:mrgreen: :mrgreen: :mrgreen: 8) :mrgreen: :mrgreen: :mrgreen: 8) :mrgreen: :mrgreen: :mrgreen: 8) :mrgreen: :mrgreen: :mrgreen:
Forcd4 wrote:Oh fuk no dude it's you a again, the oracle.
User avatar
n12sumfin
Posts: 354
Joined: Sun Aug 30, 2009 6:29 pm
Location: NeWy

kk

Post by n12sumfin »

got 2 new thermo fans from supercheap 12" for 79.95 for 2, and installed them on the radiator today :) wiring almost done, need some more crimp connectors for the power to the relay and to connect up the switching from the microtech aux wire which is a -ve.

also had a dud lead and the thermostat is siezed shut, so get a new one of them, will order a new gearbox seal and clean up the brakes then hopefully take it for a tune and see how its going :) :) :)
User avatar
n12sumfin
Posts: 354
Joined: Sun Aug 30, 2009 6:29 pm
Location: NeWy

kk

Post by n12sumfin »

update found another sneaky problem that i was unaware of, the alternator doesnt charge :( starter motor jamming on and off, yeah thermostat was a real siezed biatch but got a replacement from repco off shelf for $16 not bad, new leads @ $12 for four, $75 to order in for the replacement of every gasket and seal in the transmission and both radiator hoses :) not that i need them yet but you never know.
User avatar
n12sumfin
Posts: 354
Joined: Sun Aug 30, 2009 6:29 pm
Location: NeWy

kk

Post by n12sumfin »

i got the alternator tested on a test bench and it works :)

so it had to be the wiring, i cant read the diagram in the online manual as its half cut off so after trolling the internet i found that some Bosch alternators wont work without the little light on the dash, well since i am in the process of putting new gauges in i wired up a ignition switched 12v pilot light and connected it to the terminal on the alternator which has a white wire with a red stripe, hopefully it will work.

Then follows my new problem i kicked it over and it sounds a little like a tractor --> just had a though maybe my shit timing has backfired and blown the gasket out :( will check later (sounds really really loud ticking kind of like massive backfire i am not sure, will run a thin bead of silicon around the outside of the manifold that should create enough of a seal to show me the break before i pull the turbo off.
User avatar
n12sumfin
Posts: 354
Joined: Sun Aug 30, 2009 6:29 pm
Location: NeWy

update 4/02/11

Post by n12sumfin »

Okay im prepared to get laughed at...

i realised that my tractor noise was coming from me removing the egr pipe and failing to replace it, whoops. :( replaced it with a 1/2" bspt plug and no more noise :) thanks again Tass.

set the timing roughly to 7 degrees on the basis that im not a 100% on what it needs to be set at because i am running a Mt with wasted spark? will talk to my tuner about this. now the revs sit at about 1500rpm, hmm.

timing lock off and gave it a rev whoo hoo i got some voltage coming off the alternator and it turned my funky new light off :)

next i need to adjust the clutch and because i have no idea i am searching the forums as we speak.

also i have started stock piling my performance parts to be installed :) will update after i install and get a tune.
User avatar
Kimmo
Posts: 2287
Joined: Thu Nov 02, 2006 8:40 am
Location: Footscray

Re: update 4/02/11

Post by Kimmo »

n12sumfin wrote:next i need to adjust the clutch and because i have no idea i am searching the forums as we speak.
Being a cable system, it's pretty basic; it's a no-brainer to anyone who can adjust a bike's brakes and gears. The only potential stumbling block is ensuring the cable gets released far enough for the clutch to fully engage.

While you're at it, you can make your car feel heaps sportier by lowering the clutch and brake pedals down near the height of the accelerator... that's pretty easy too.

I like to have the friction point come in as soon as the clutch pedal comes off the firewall, that way you never have to learn/guess where it is.

So if you set it up like that, the minimum height for the clutch pedal is dictated by the amount of cable travel required to fully engage the clutch. I'd make it so you see some slight slack in it at rest, then tighten it just enough to remove the slack, but not enough to move the actuating arm.

There's a bolt that sets the height of the clutch pedal; you need to screw this in (maybe relocating the locknut or even turning the bolt around) to get the clutch to the desired height... you won't have slack in the cable unless the pedal arm is resting on the bolt.

The brake pedal is pretty simple to adjust; there's a locknut and a threaded rod you have to turn.

Clutch pedal adjustment:
Image (The bolt has been reversed)

Brake pedal adjustment:
Image

Result:
Image
Post Reply