Page 6 of 8
Posted: Thu Mar 27, 2014 9:44 pm
by agecage
Posted: Mon Dec 01, 2014 4:25 pm
by agecage
Posted: Wed Jan 21, 2015 4:02 am
by agecage
Posted: Thu Jan 22, 2015 3:53 am
by photoglossy
Nice!
Posted: Sat Feb 21, 2015 3:30 pm
by agecage
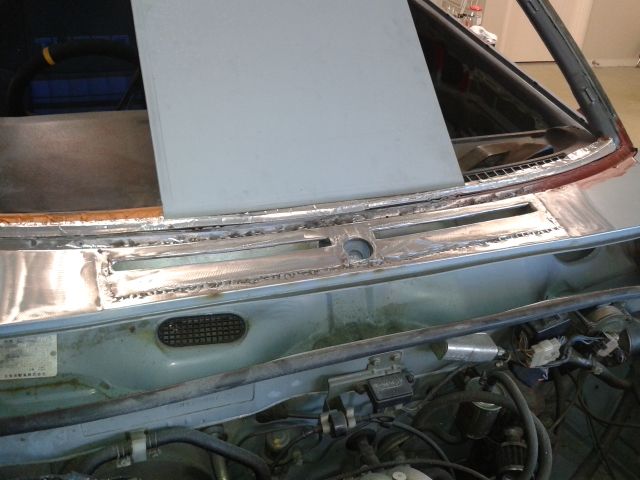
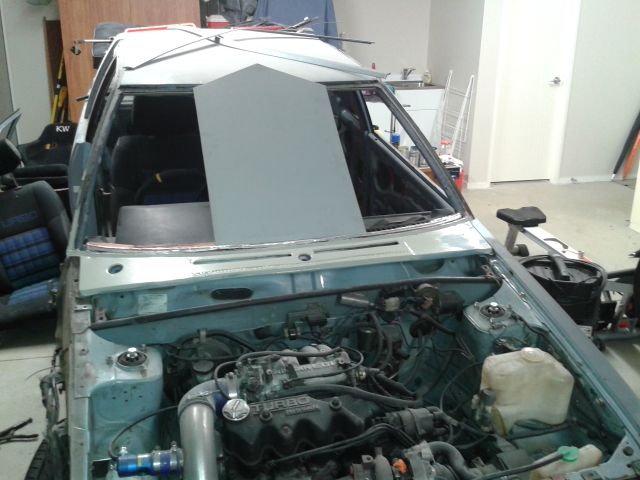
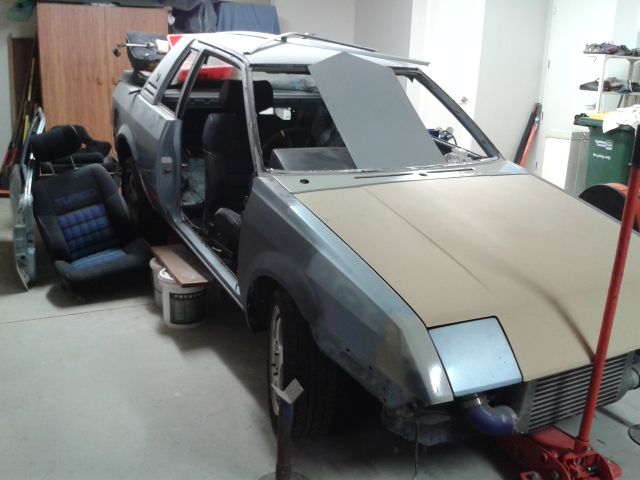
Some more progress pics:
Smooth asss
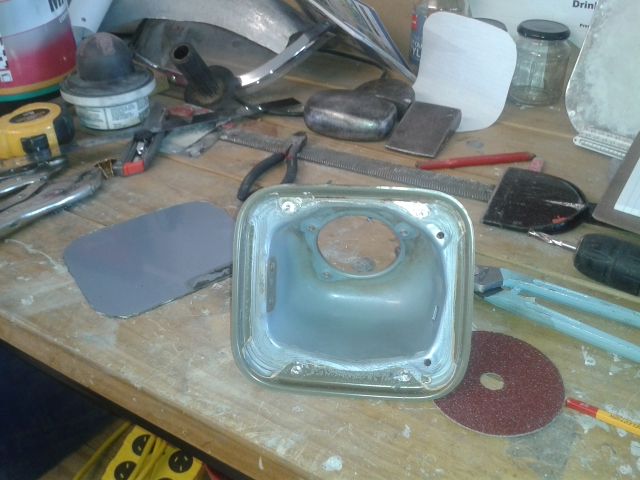
New hide panel for fuel filler:
Posted: Sun Feb 22, 2015 8:41 pm
by 15exa
this is looking really good man, not sure about the blanked out 1/4 windows, but I can appreciate a vision, and look forward to seeing the finished product, keep the pix coming
Posted: Sun Mar 01, 2015 2:42 pm
by agecage
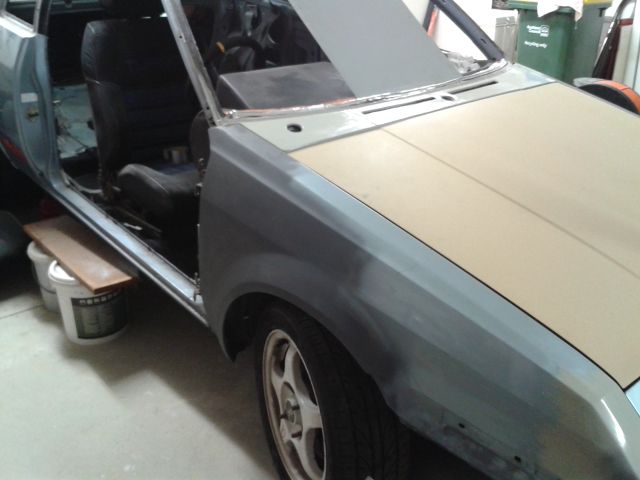
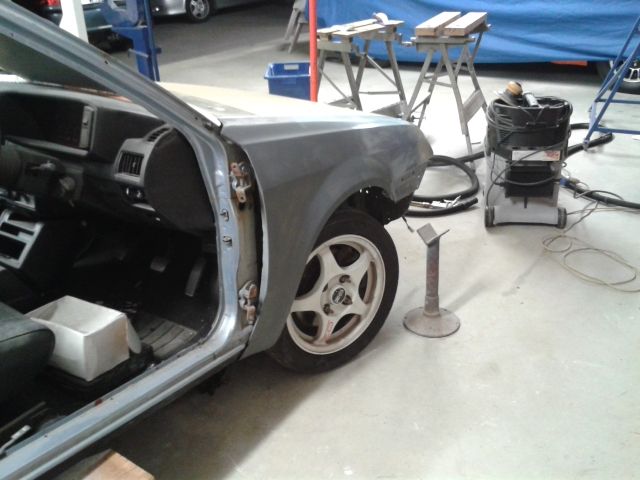
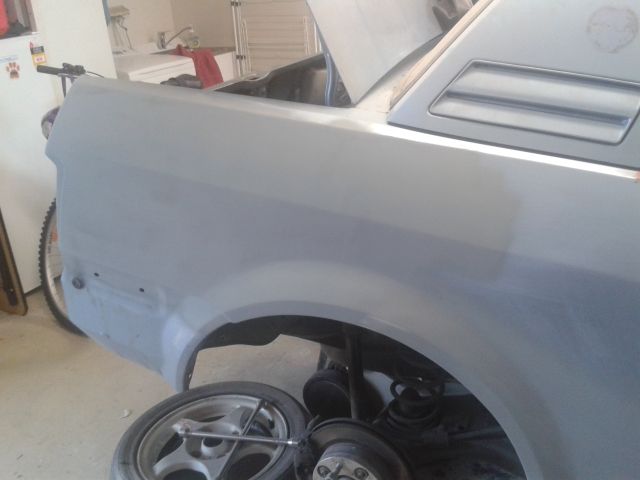
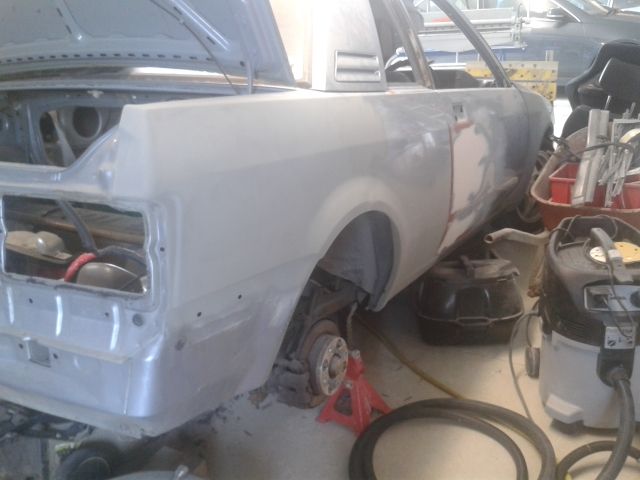
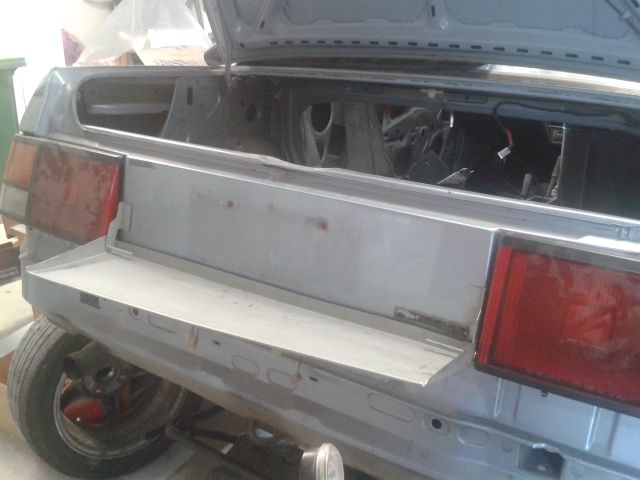
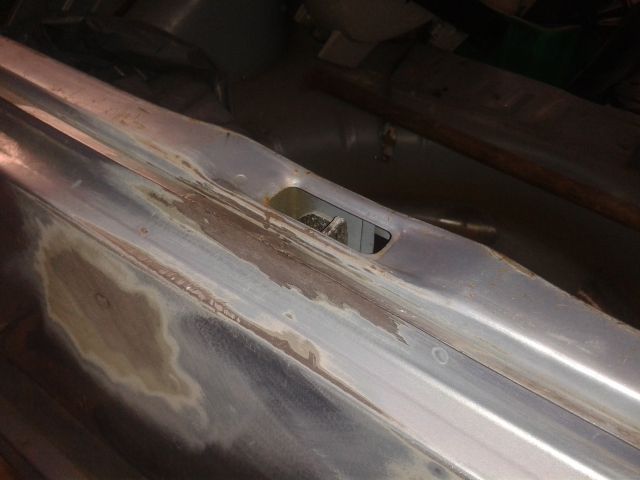
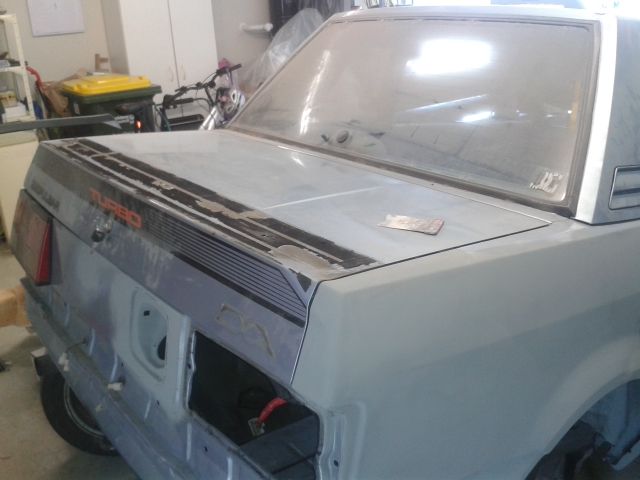
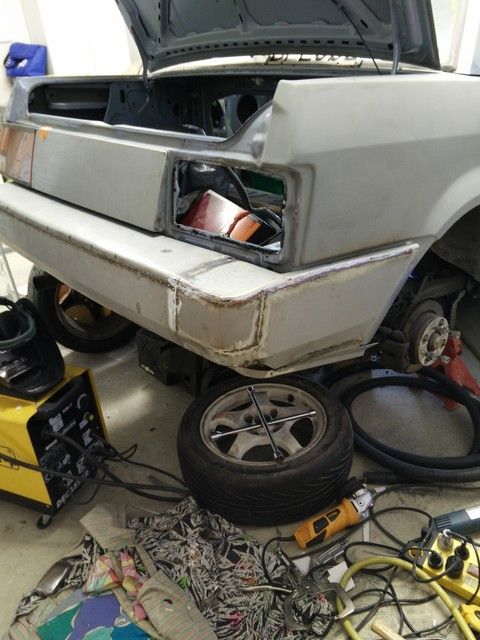
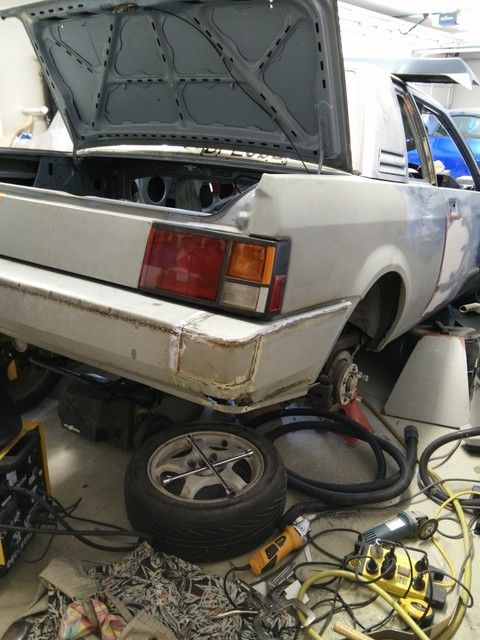
Work has continued with the rear of the car.
Fuel filler has been refitted to rear panel:
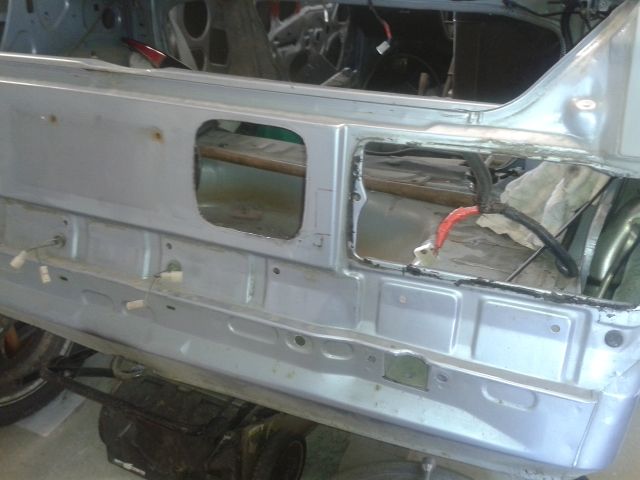
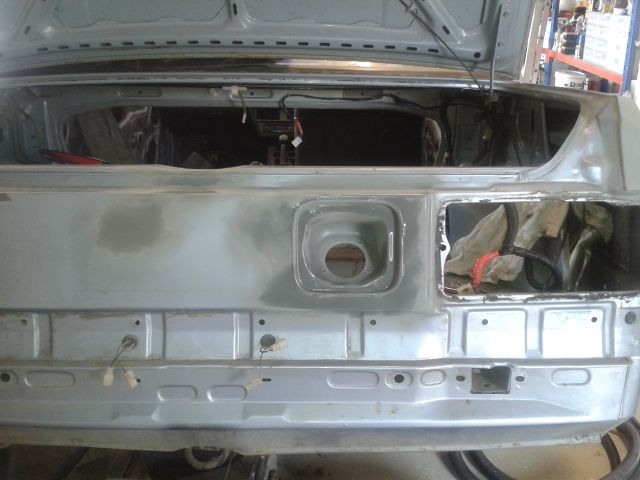
Little bit of rust work going on
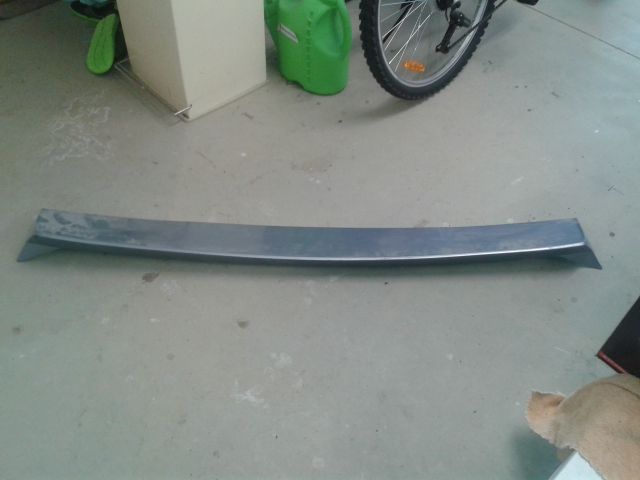
Managed to get rear spoiler of, need to figure out a way to strip it and repaint it with flexi paint. Any ideas???
Posted: Sun Mar 01, 2015 2:46 pm
by agecage
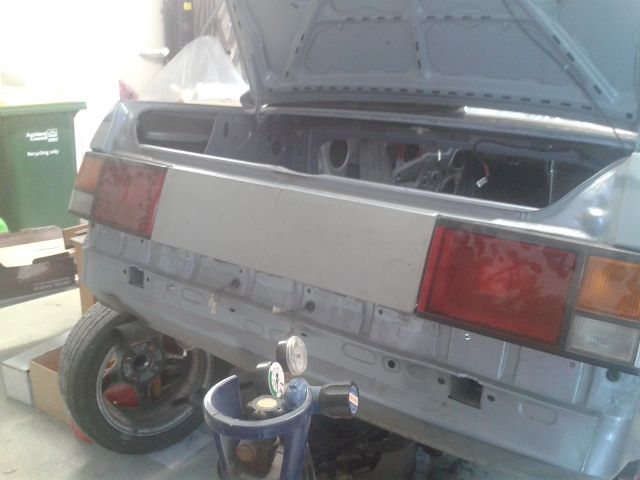
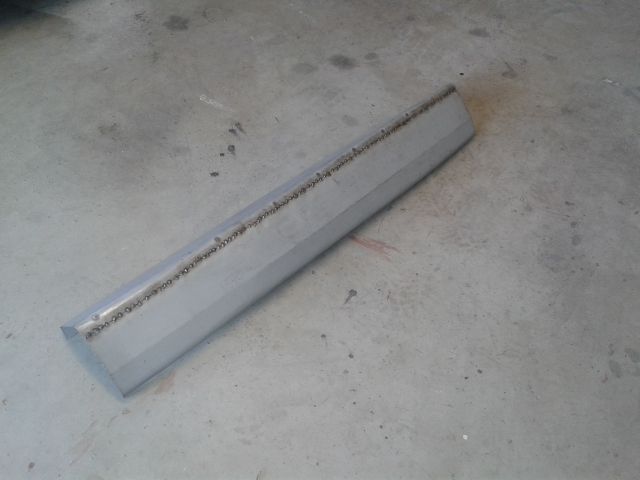
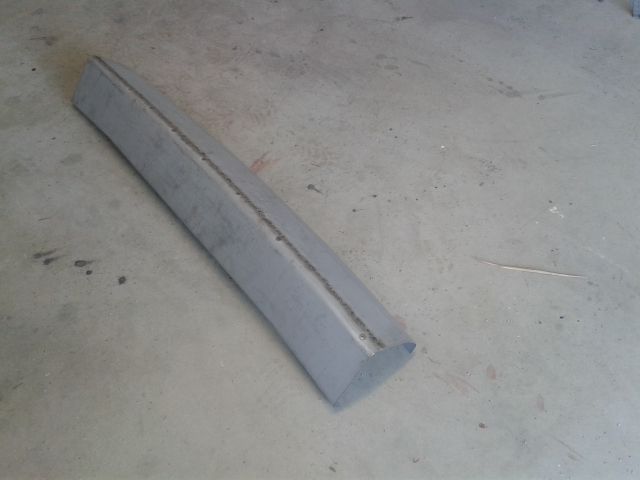
Also started folding up the rear bumper, Dad was talking about using it as a mold and making some fiberglass bumpers with them depending on how they turn out.
Posted: Mon Mar 09, 2015 8:38 pm
by agecage
Posted: Wed Mar 11, 2015 3:59 am
by photoglossy
Looking forward to seeing how those end pieces turn out. Very cool
Posted: Tue Mar 17, 2015 7:24 pm
by agecage
Posted: Fri Mar 20, 2015 10:55 am
by Xero
Looking real nice

Really makes me want to learn to work body metal better.
Posted: Sat Mar 28, 2015 8:19 pm
by agecage
Work on rear bumper is continuing. 1 corner nearly complete, looking amazing. I better start working on a rear defusor, before dad get to far. With the bumpers.
Any suggestions on were i should put the number plate? I was thinking in the middle of the rear bumper as long as it doesn't clash with the defusor.
Posted: Sat Mar 28, 2015 8:29 pm
by agecage
I was trying to find a picture of the original rear bumper for comparison this was all i could find unfortunately.
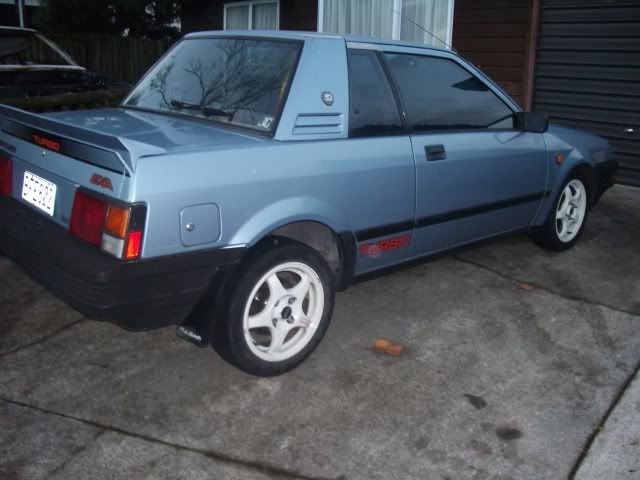
The new steel bumpers are fairly similar but don't have all the swages and etc in them, Im loving it.
Posted: Mon Mar 30, 2015 3:56 am
by photoglossy
Nice work! Gonna look mint i rekon.
I second the bumper in the middle idea. Kinda like this
http://image.superstreetonline.com/f/62 ... -bumper-08