
The N12 does not have standard rear toe adjustment; in fact there is no rear adjustment on the N12 at all. So what does this mean? Well what ever settings you've got now is it. If the rear camber incorrect due to a bingle or you want more camber or caster you can't correct it if you need, nor can you fix the impact this has on toe.
So how do these things work?
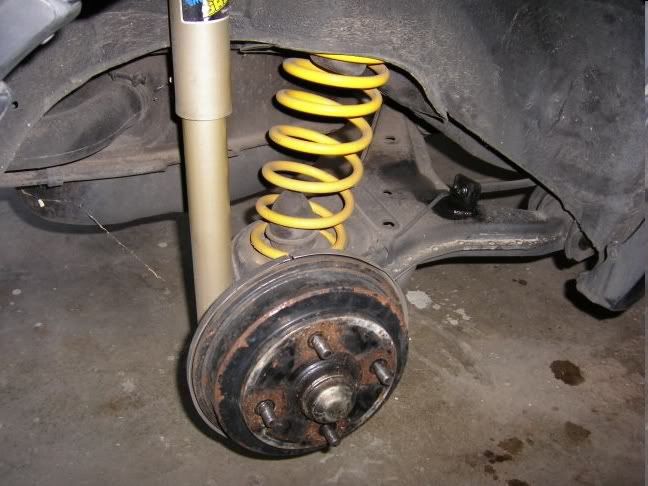
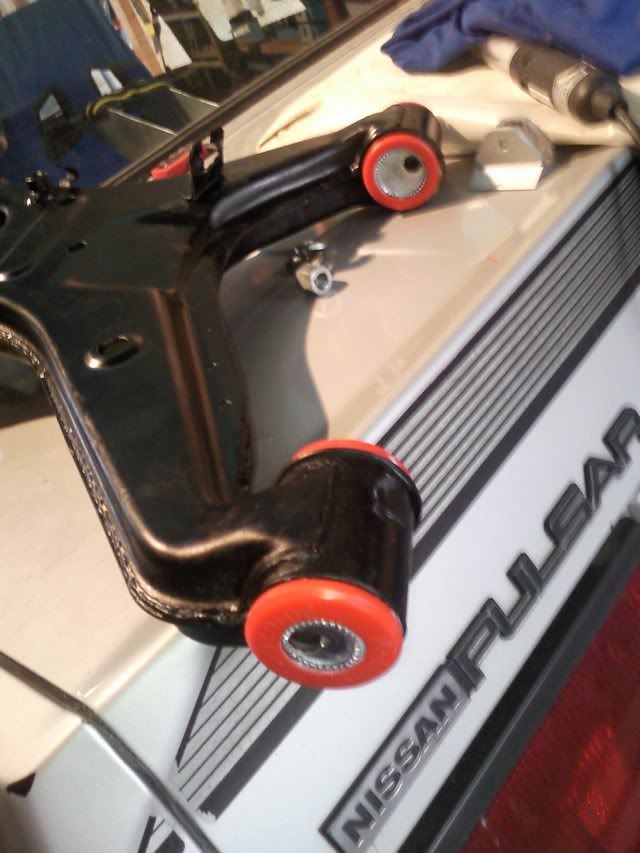
Well the rear of the N12 is a simple swing arm with inner and outer pivots.
By putting eccentric centre bushes in these holes you can adjust the toe by any horizontal change in the position of the bush and the camber with any vertical changes. If you use only one adjustable bush on a swing arm then you will get a combination of camber and toe adjustment, but you will not be able to change them independently. Change the bush setting and you will change BOTH camber and toe.
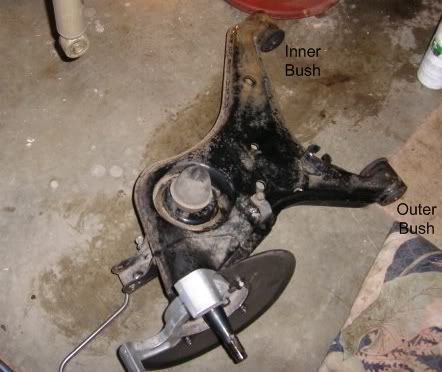
Camber angle will be effect equally by adjustments of the inner and outer bush, but in the opposite sense. Having the inner bush fully up will give a positive camber change while having the outer bush fully up will give a negative camber change. This is true only if the bushes have the same amount of adjustment (or offset)!
Similarly for the Toe, with the inner one forward you get toe out and with the outer one forward you get toe in.
Secondary effects of these adjustments are on the wheel base of the car. Negative camber moves the rear contact patches further apart and will make the car feel stiffer. Adding toe in to the suspension layout reduces the distance to the front wheels which will make the car wheelbase more 'square' and it'll be less stable and more twitchy. Worth noting though, these secondary effects are SMALL.
If you use two bushes you will be able to adjust both camber and toe almost independently.
So after a suggestion from Brendan (BTR) I had a look at the Commodore kits, commonly available and at a range of prices from ~$70 to over $300.
But do they fit?
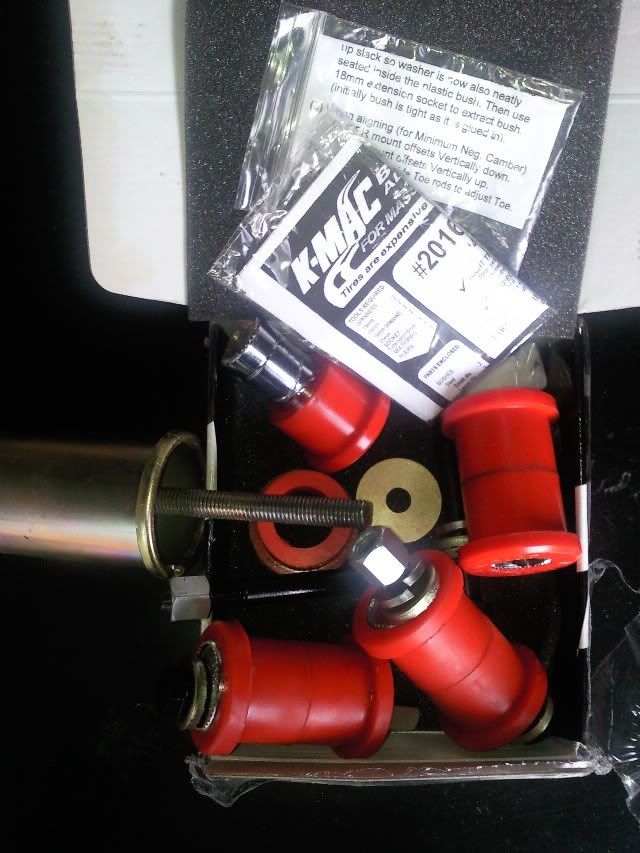
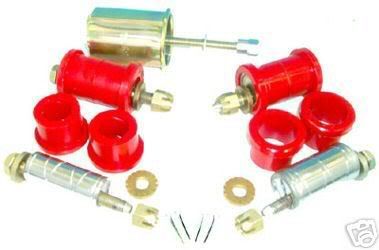
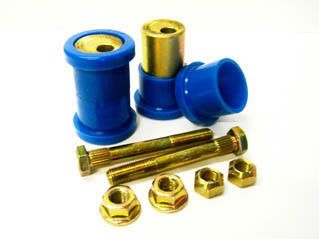
Well thanks to the help of my local Pedders I can answer that. With the right installation technique it appears they will go into the N12 Arm unmodified. SO I bought a set of the K-Mac bushes (got them for $280 from my local Repco in May 2010):
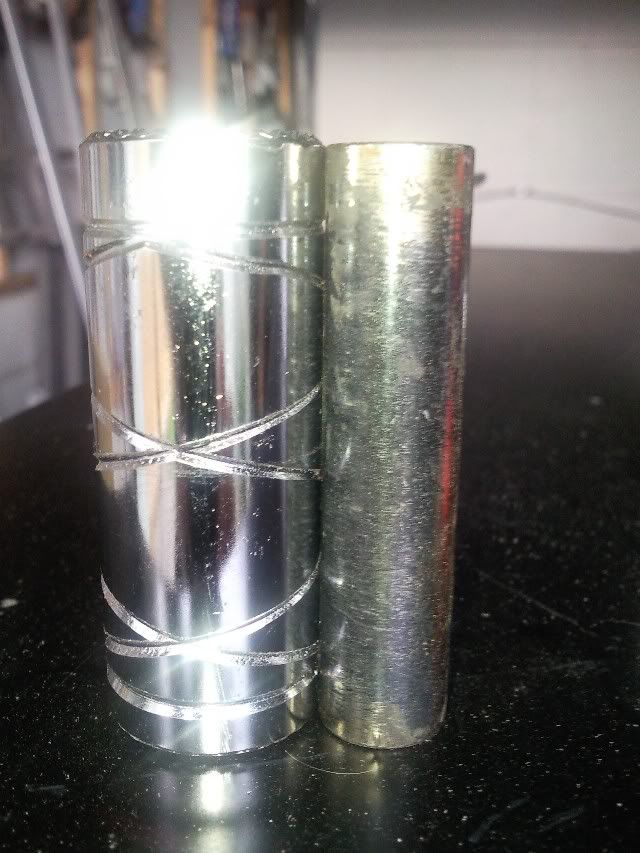
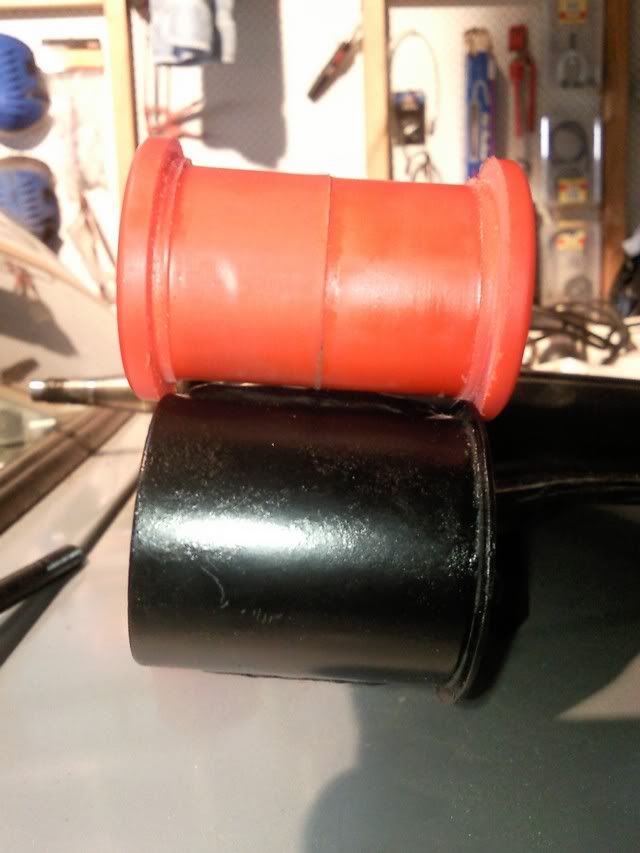
Here they are side by side:
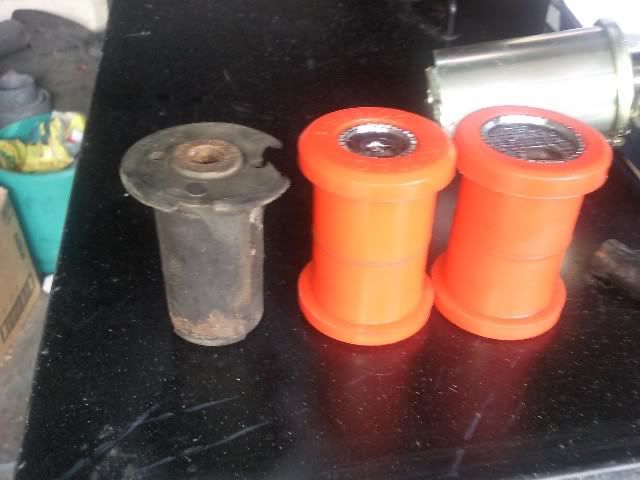
or better looking at the insert portion:
Installation
The installation procedure is as follows:
1. Remove the arm from the car. (I was using a spare arms so didn't have to do this)
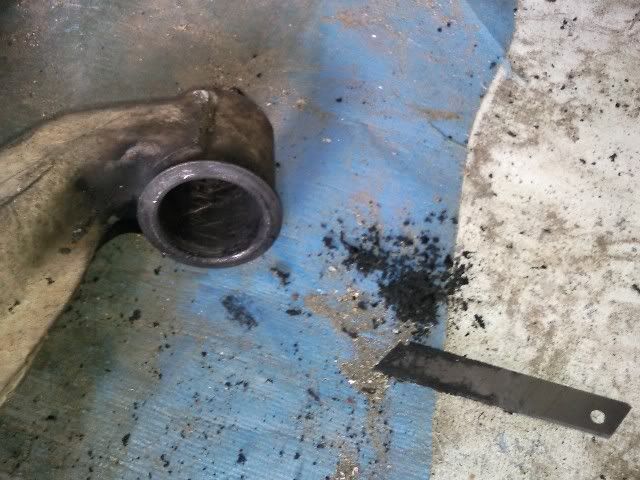
2. DO NOT press out the old bush and outer sleeve. You need to leave the metal sleeve and just remove the rubber.
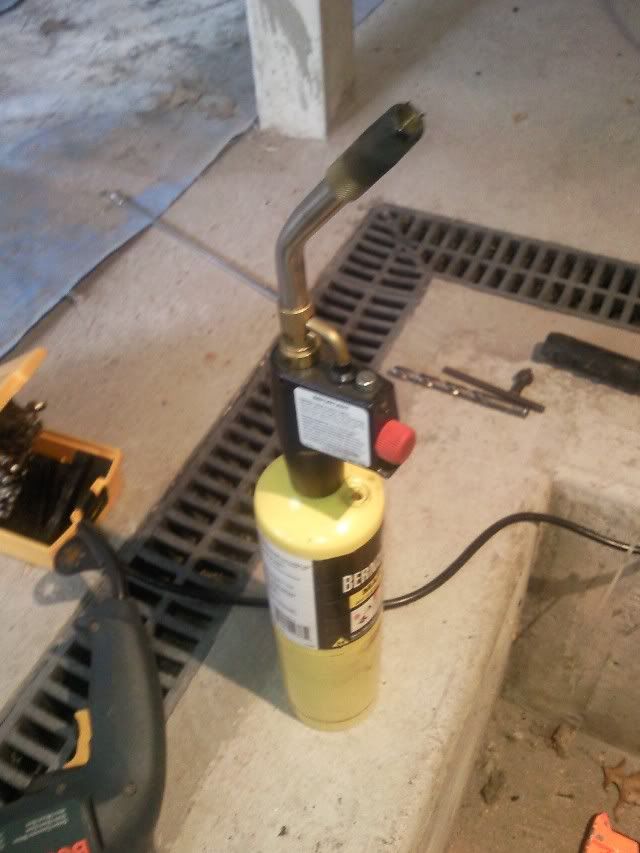
3. If it's rubber: Heat the bush with one of these:
It'll go crumbly and fall out like this:
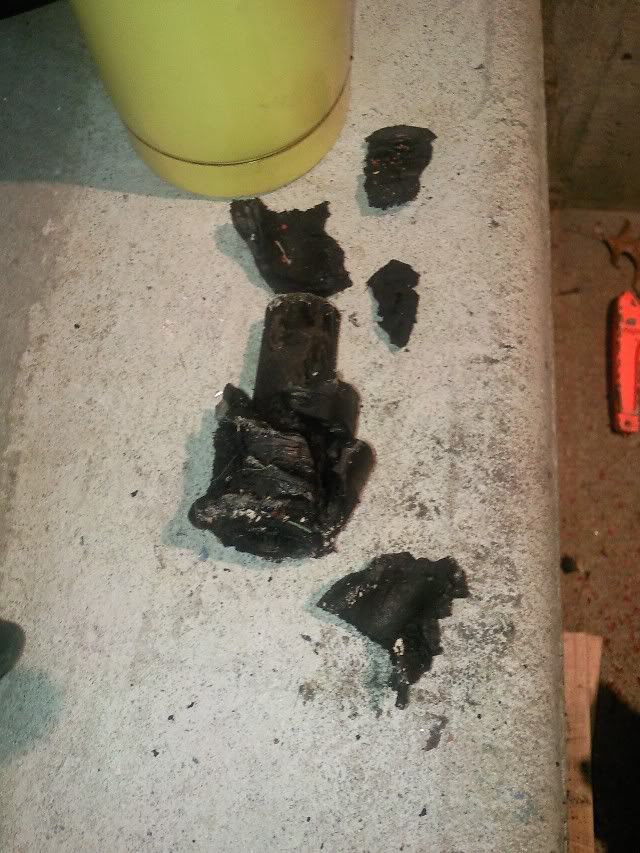
Leaving you:

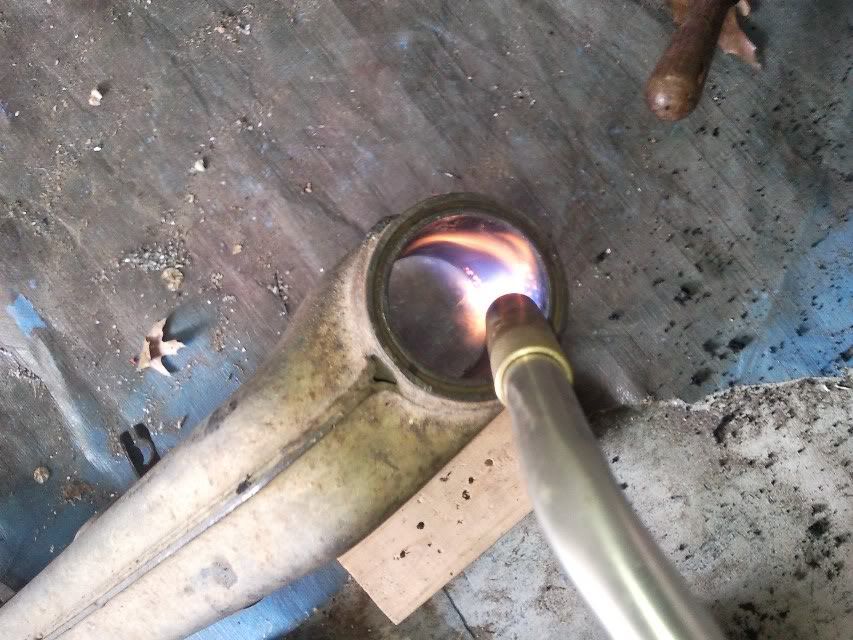
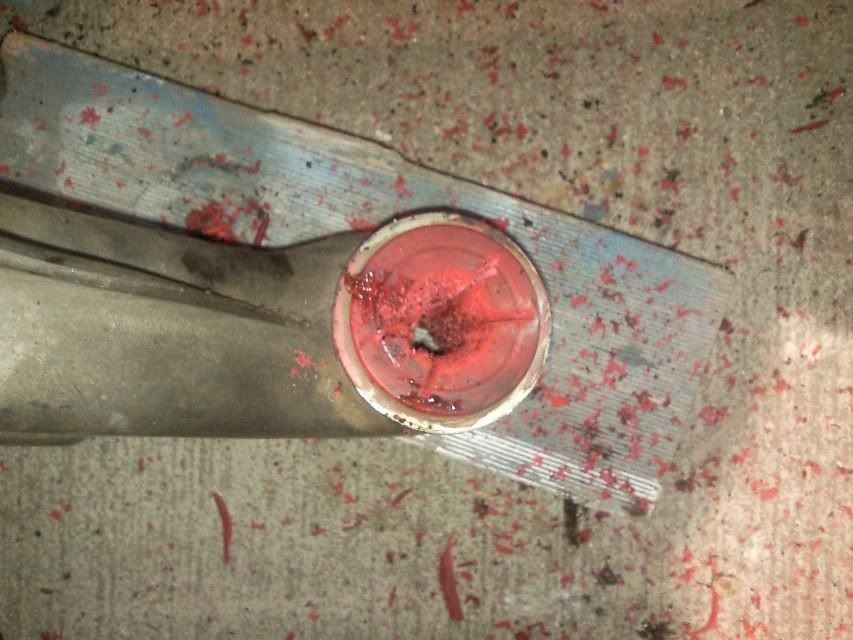
Then heat the remnants:
Scrap with a blade:
4. If its neoprene: heating it is messy and turns it into a sticky black gunk:

Instead, carefully slice a couple of segments out:
This then lets you peel the rest out (the glue is a real PITA!)
You can melt out the tiny residues easily at the end.
5. Clean up the area with turps or a scouring pad
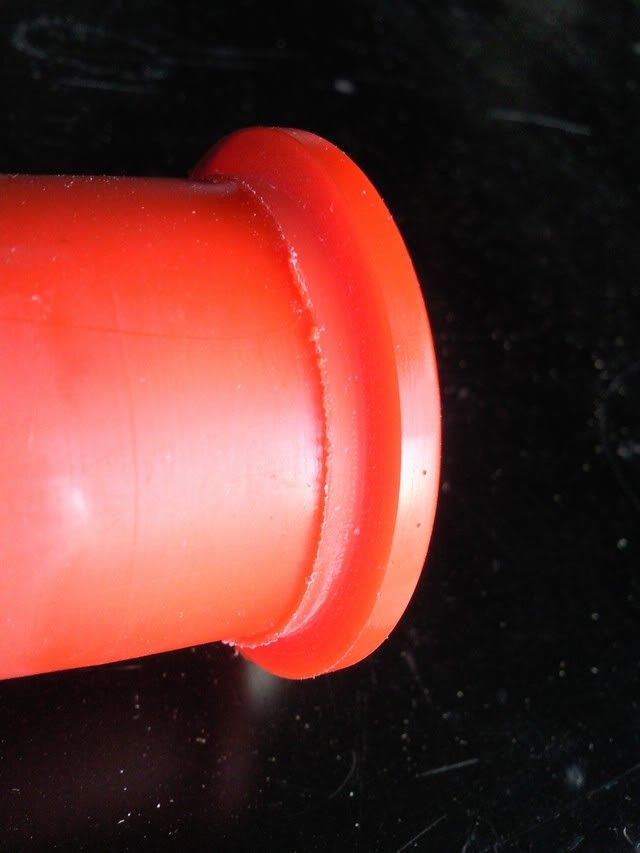
6. Trim the lips from the bush pairs so they fit into the arms and remain centred.

The best way to do this is on a grinder with a nice square edge or I set them in a lathe and used a file mounted on the cutting block to file them in. Remember - don't over heat them. You need to remove about 2.5mm per side.
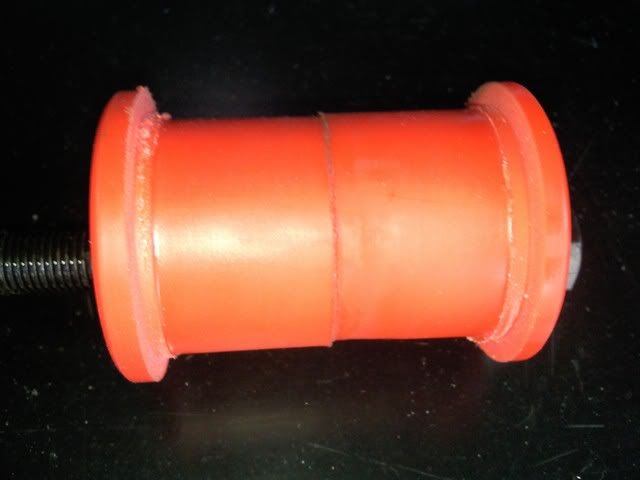
7. Fit the new bushes and eccentric crush tubes into the swing arm.
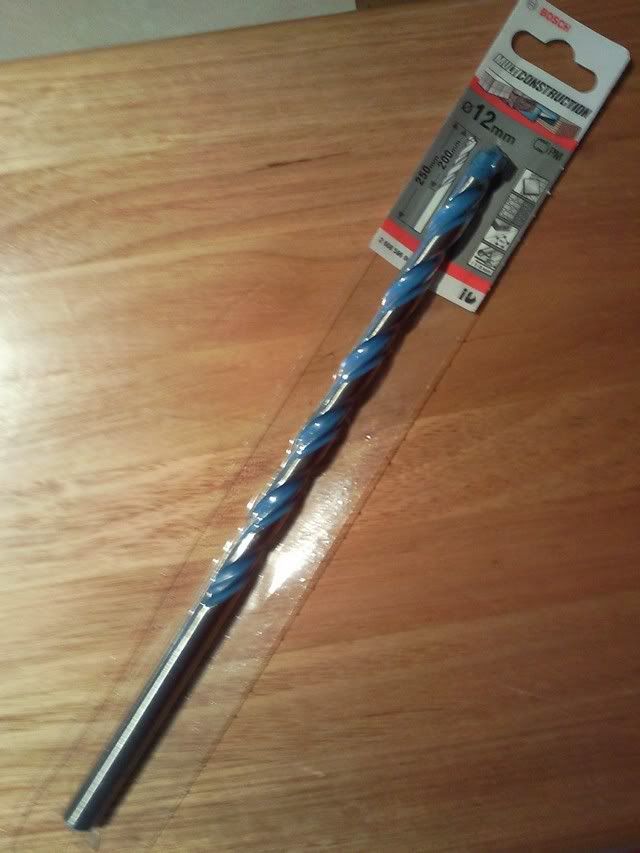
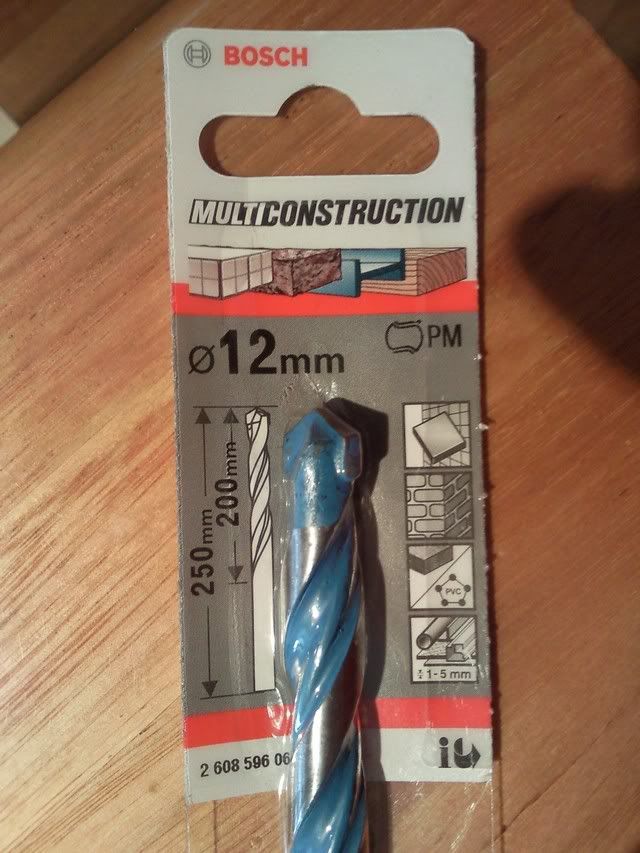
8. Drill out the chassis mounts to 12mm to take the larger bolts. This is a very difficult part. Getting the drill in is difficult because of the chassis rails bocking straight access on one side and the body getting in the way on the other. I used a 12mm 25mm long Bosch bit ($19 from Bunnings/Mitre10) and a right angle drill converter (blue thing in the pictures)
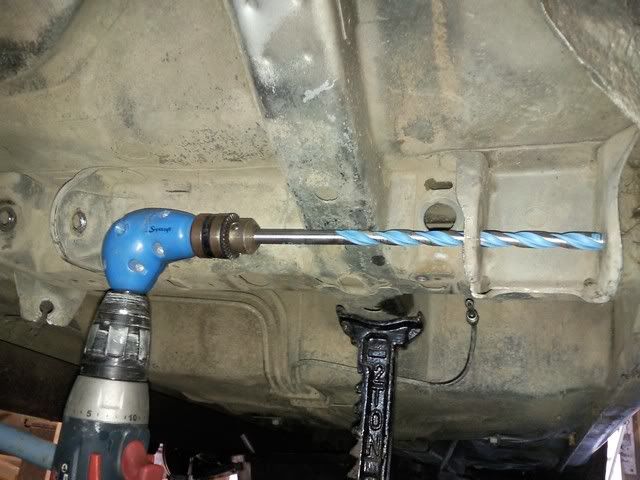
there may be other ways and right angle air drill might work if you have one.
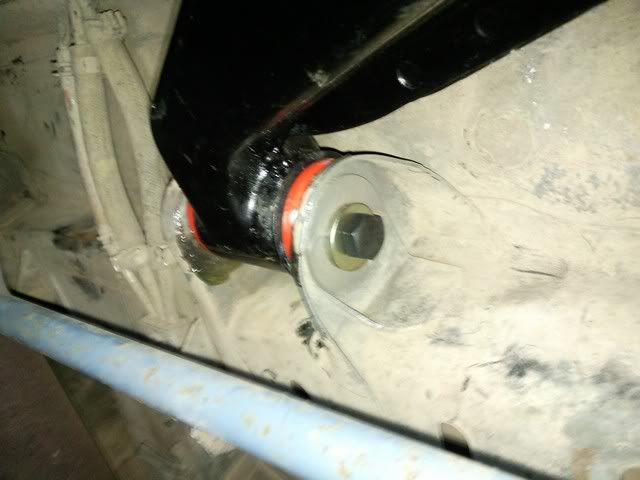
9. Refit to the car. Use plenty of grease to get the arm back in and a soft hammer. When the bolt holes are visible use a screw driver to lever them into place from inside. Put back the springs, swaybar etc... Tighten it all up and head off for a wheel alignment.

What kits could be used?
Superpro
Uses a double nut arrangement to lock off the eccentric bush and has knurled ends for 'bite'. Difficult to adjust on the car because there is no way to turn the bush.
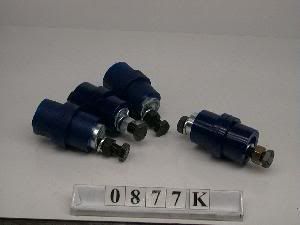
K-Mac
These only come in full kits of two bushes per side and are $300 or more. They have a keyed bolt to allow adjustment but rely on knurls and crimpled washers to hold position. There are two levels of eccentricity in each kit. (part number 201626)
Pedders
Have a good level of adjustment and use a notched wheel to adjust. [no images]
This last three are now all part of Redranger and you are likely to be only able to get one of these soon. Which is anyone’s guess.
Nolathane
Uses a double nut arrangement to lock off the eccentric bush and has knurled ends for 'bite'. Difficult to adjust on the car because there is no way to turn the bush.

Noltec
Uses a single bolt with a knurl that locks into the crush tube and relies on knurled ends for 'bite' to lock the bush in place. Can adjust on the car because of the knurled bolt ends, but if these strip you’re stuffed! Some installers have commented that it may migrate in use. The good thing is that they have two sizes to give more adjustment and a range of kits.
Whiteline
No images.
My suggestion is that Kmac kit or the Pedders kit is you only want to adjust one bush. Two Pedders kits (one adjuster each side) will cost more than a single KMac kit (both points each side).
C